Have you ever stared at a piece of vinyl plank flooring, wondering how you’ll ever achieve a perfect cut for that tricky corner or awkward transition? The answer may lie in a tool you might already own: the trusty miter saw. This versatile saw, often considered the cornerstone of any DIYer’s arsenal, can be your best friend when it comes to precise and clean cuts for your vinyl plank flooring project.

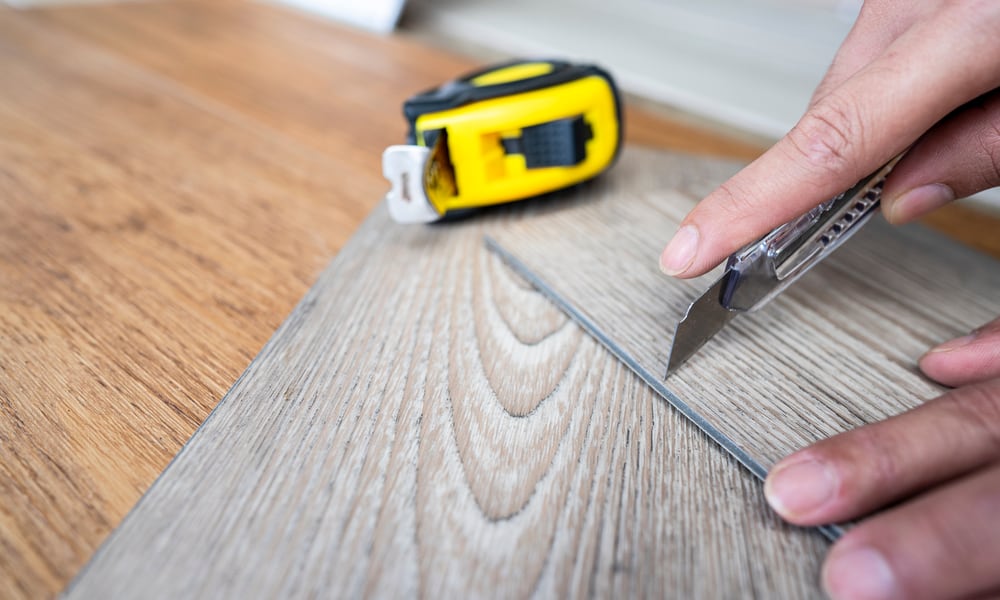
Image: cinvex.us
Choosing the right cutting tools is crucial for any flooring installation, especially when dealing with vinyl planks. While other methods exist, like using a utility knife or jigsaw, the miter saw provides unmatched accuracy and control, especially when it comes to intricate angles and clean edges. This guide will equip you with the knowledge and confidence to tackle your next flooring project using a miter saw.
Understanding the Basics: Why Miter Saws for Vinyl Plank Flooring?
Miter saws, with their angled cutting capabilities, are a natural choice for achieving precise cuts in vinyl plank flooring. Let’s break down why:
- **Precise Cuts:** Miter saws allow you to adjust the cutting angle, achieving precise 45-degree, 90-degree, and even custom-angle cuts. This is essential for creating tight corners, perfect miters, and seamless transitions between flooring sections.
- **Clean Edges:** The sharp, rotating blade of a miter saw creates clean, straight cuts without leaving jagged or uneven edges that can mar the finished look of your flooring.
- **Safety:** Compared to a utility knife or jigsaw, a miter saw offers a safer cutting experience, especially for long planks. The stationary nature of the saw and the blade guard provide a more controlled cutting environment.
Choosing the Right Miter Saw: What to Consider
Not all miter saws are created equal. The world of DIY offers a wide range of models, each with its own strengths and weaknesses. Here’s how to choose the right miter saw for your vinyl plank flooring project:
- **Blade Size:** The size of the blade is crucial, especially when cutting thicker vinyl planks. A 10-inch or 12-inch blade is usually sufficient for most flooring applications.
- **Cutting Capacity:** Look for a saw with a cutting capacity that allows you to cut planks at the desired angles without restriction.
- **Bevel Capability:** A miter saw’s ability to cut bevels (angles relative to the workpiece) is useful for creating unique cuts, like for skirting boards or decorative trim.
- **Power:** While vinyl plank flooring is relatively easy to cut, having a saw with adequate power ensures smooth cutting and prevents straining the motor.
- **Features:** Look for features like a laser guide, a blade guard, and a dust collection system for added safety and ease of use.
Setting Up Your Miter Saw for Success: A Step-by-Step Guide
Once you’ve chosen the right saw, setting it up correctly is crucial to achieve precise cuts and a safe working environment.
- **Secure the Saw:** Place the miter saw on a stable work surface like a sawhorse or workbench. Ensure the saw is securely mounted for stability during cutting.
- **Adjust the Angle:** Set the cutting angle using the miter gauge to the required measurement. A clear and marked scale on the miter saw will make this adjustment easy.
- **Blade Depth:** Adjust the blade depth so that it cuts through the vinyl plank without damaging the underlying material. This is usually done using a depth adjustment lever.
- **Safety First:** Always wear safety goggles and ear protection during operation. The rotating blade can be dangerous if proper precautions aren’t taken.
- **Dust Collection:** If your saw has a dust collection port, connect it to a vacuum cleaner to minimize dust and keep your work area clean.

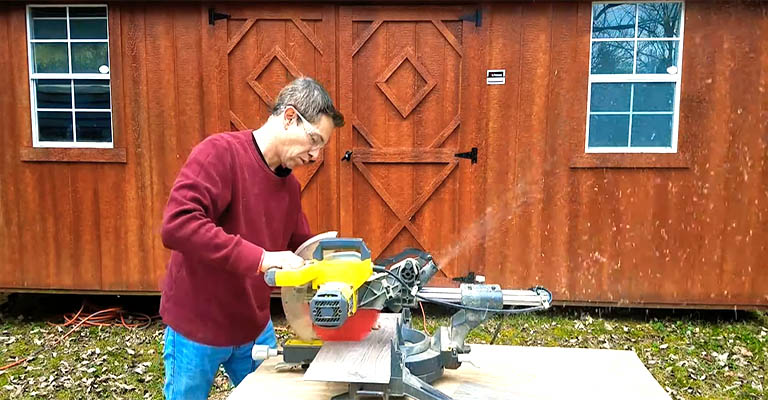
Image: nextmodernhome.com
Cutting Vinyl Plank Flooring with a Miter Saw: A Practical Guide
With your workstation set up, you’re ready to tackle those vinyl planks. The following steps provide a comprehensive guide to cutting vinyl plank flooring with your miter saw:
- **Measure and Mark:** Measure the plank to determine the required cutting length. Mark that length on the plank using a pencil, ensuring accuracy.
- **Secure the Plank:** Place the plank on the miter saw’s table, making sure the mark you’ve made aligns with the saw blade. Use clamps or hold-downs if necessary for added stability.
- **Choose Cutting Angle:** Rotate the miter gauge to the required cutting angle (45 degrees, 90 degrees, or a custom angle). Ensure the angle is set correctly before cutting.
- **Make the Cut:** While holding the plank securely, carefully make the cut using slow, controlled movements. Don’t force the saw, let the blade do the work.
- **Double-Check:** After the cut is made, double-check the length and the precision of the cut, especially for angles.
- **Repeat for Additional Cuts:** Follow the same steps to make additional cuts for your flooring project, adjusting the cutting angle and length as needed.
Handling Tricky Cuts and Tips for a Clean Finish
While cutting straight lines with a miter saw is a breeze, tackling complex angles and transitions requires careful planning and execution. Here are some tips and techniques for handling those trickier cuts:
- **Precise Miter Cuts:** For mitered corners (45-degree cuts), ensure the angle setting on the miter saw is precise to create a seamless join. Use a miter saw with a fine adjustment mechanism to achieve the most accurate cuts.
- **Cutting Around Obstacles:** For cutting around pipes, vents, or other obstacles, use a jigsaw or coping saw, as those tools offer greater maneuverability. Use the miter saw to pre-cut the plank to the required size, then use the jigsaw to cut the exact shape around the obstacle.
- **Finishing Touches:** After cutting, always smooth any rough edges or burrs with sandpaper. A light sanding can make the cuts look more finished and prevent accidental snags on your feet.
- **Practice Makes Perfect:** Cutting vinyl plank flooring effectively with a miter saw requires practice. Familiarize yourself with your saw, and experiment with different cutting angles and techniques before tackling your actual flooring project.
Cutting Vinyl Plank Flooring With A Miter Saw
Conclusion
Cutting vinyl plank flooring with a miter saw can save you time and money while empowering you to achieve a beautiful and professional-looking flooring installation. Understanding the nuances of using this versatile tool, coupled with the tips and techniques outlined in this guide, paves the way for a successful flooring project. Remember, practice is key, and as you gain experience, you’ll master the art of cutting vinyl plank flooring with confidence and precision. So, grab your miter saw, follow these steps, and let’s get cutting.


