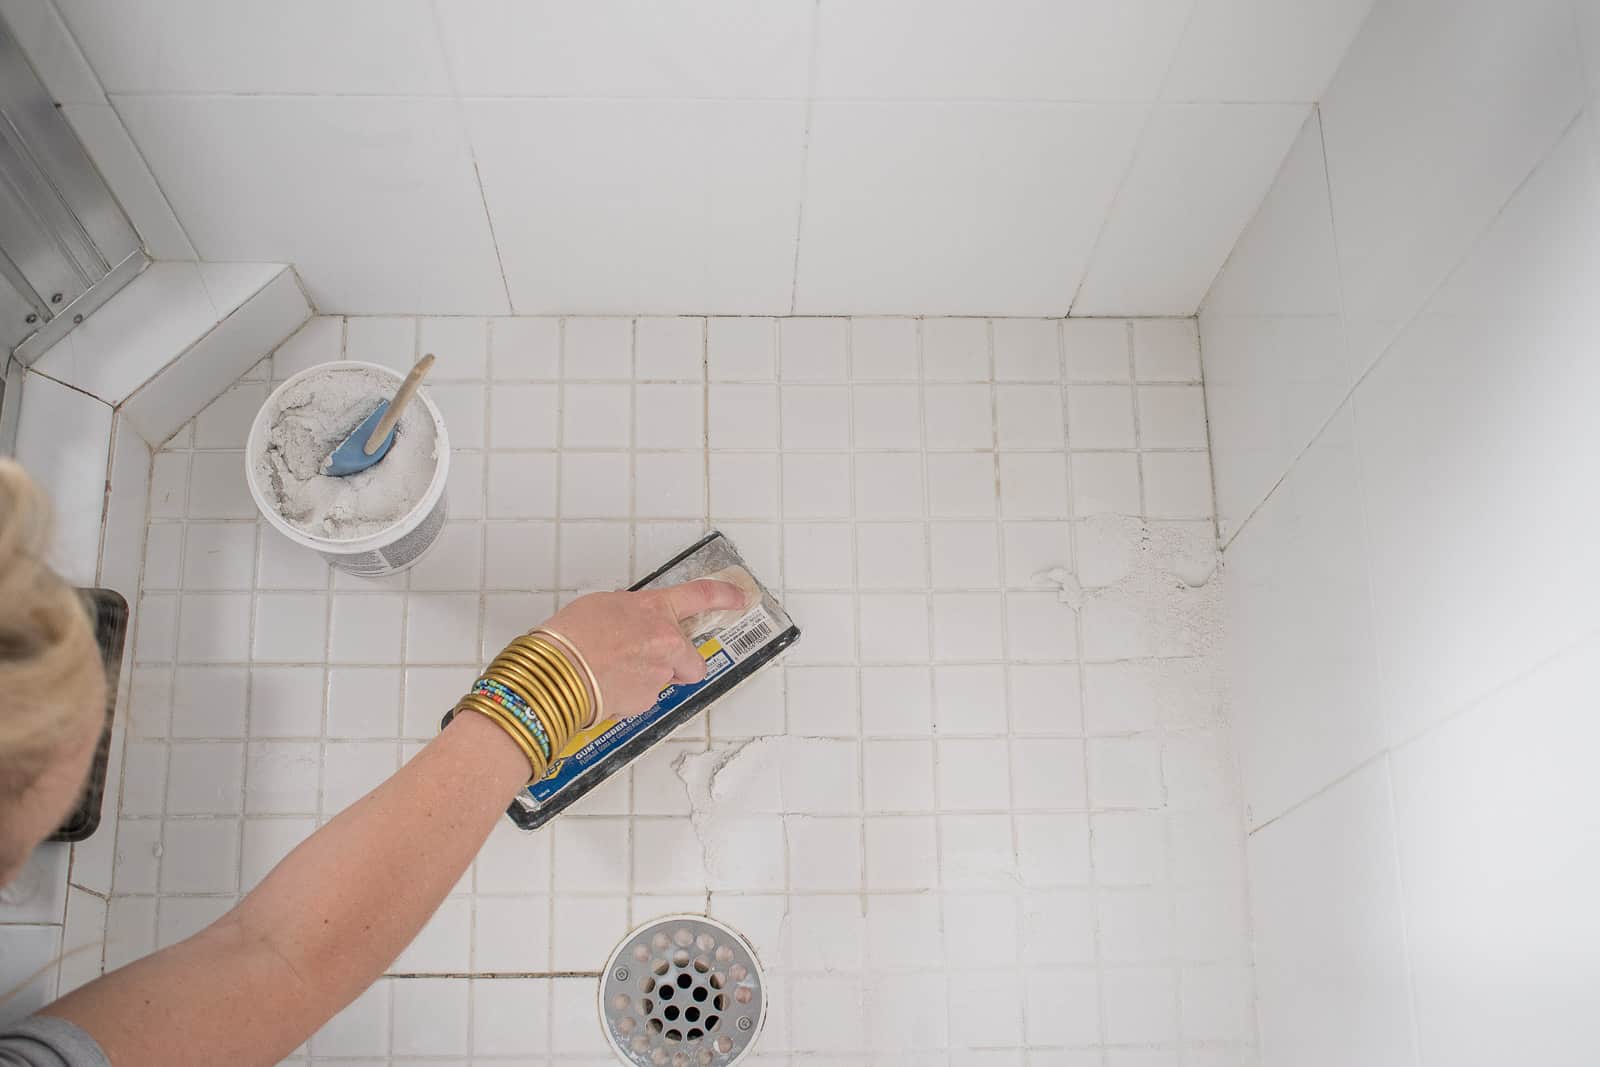
Imagine walking into your beautiful bathroom, only to be greeted by a network of unsightly cracks weaving through your once-pristine tile floor. It’s a common sight, but a frustrating one. Cracked grout can not only mar the look of your space but also harbor dirt and grime, making cleaning a nightmare. But fear not! Fixing cracked grout is a manageable DIY project that can restore your tile floor’s elegance and hygiene.

Image: in.pinterest.com
This guide will walk you through everything you need to know about tackling those pesky grout cracks, from understanding the causes to mastering the repair process. We’ll cover essential tools, materials, and techniques, making sure you’re equipped to tackle the job with confidence. Ready to breathe new life into your tile floor? Let’s get started!
Understanding the Causes of Cracked Grout
Cracked grout is a common issue that can arise from various factors. As a resilient material, grout is designed to withstand daily wear and tear, but over time, it’s susceptible to damage. Here are some common culprits behind cracked grout:
1. Aging and Wear and Tear:
Over time, grout can deteriorate due to constant foot traffic, furniture movement, and exposure to cleaning chemicals. These factors cause the grout to become brittle and prone to cracking.
2. Moisture and Temperature Fluctuations:
Excessive moisture or drastic temperature changes also contribute to grout cracking. In bathrooms, for example, humid conditions and hot showers can cause the grout to expand and contract, creating fissures.

Image: phenergandm.com
3. Improper Installation:
Sometimes, the culprit behind cracked grout lies in the initial installation. Inadequate or incorrect grout application can lead to weak bonds and premature cracking.
How to Fix Cracked Grout: A Step-by-Step Guide
Now that we understand the causes, let’s dive into the practical solution – fixing cracked grout. This process involves several steps, each playing a crucial role in ensuring a smooth and durable repair. Follow these instructions for best results:
1. Gather your tools and materials:
Before you begin, gather the necessary tools and materials. You’ll need:
- Utility knife
- Grout saw or scraper
- Bucket
- Grout float
- Sponge
- Shop vacuum
- Grout cleaner
- Grout sealer
- New grout (matching existing color)
- Trowel
- Safety glasses
- Gloves
2. Clean and prepare the grout:
Begin by thoroughly cleaning the affected grout. Use grout cleaner to remove dirt, grime, and mold. Allow the grout to dry completely after cleaning.
3. Remove the cracked grout:
Using the grout saw or scraper, carefully remove the cracked grout. Be sure to press firmly and follow the contours of the tile. Gently guide the tool into the grout lines, ensuring you remove all the cracked material.
4. Clean the grout lines:
After removing the cracked grout, use a shop vacuum to clean the lines thoroughly. Removing any loose debris or dust is essential for a smooth, durable finish.
5. Apply the new grout:
Mix the new grout according to the manufacturer’s instructions. Use a trowel to apply the grout to the cleaned grout lines. Ensure the new grout is packed tightly and flush with the tile surface.
6. Smooth out the grout:
Using a grout float, smooth out the grout, creating a seamless and even finish. Work the grout into the lines, ensuring it’s distributed evenly and fills any gaps.
7. Clean excess grout:
After applying the grout, use a damp sponge to wipe away any excess grout. Work in small sections, ensuring you remove the excess before it hardens.
8. Let the grout cure:
Allow the grout to cure completely as per the manufacturer’s instructions. This typically takes 24-48 hours. Avoid walking on the tile during the curing process to prevent blemishes or damage.
9. Seal the grout:
Once the grout is cured, apply a grout sealer. This creates a protective barrier, repelling moisture, stains, and grime, keeping your grout looking pristine for a longer time.
Pro Tip: Choosing the Right Grout
When selecting grout for your repair, consider the following factors:
- Color: Ideally, find a color that closely matches the existing grout. If an exact match isn’t possible, a slightly darker color can create a more subtle look.
- Type: Epoxy grout is considered more durable compared to cement-based grout. While slightly more expensive, it offers better resistance to stains and moisture.
FAQs on Cracked Grout
Here are some common questions related to fixing cracked grout:
Q: Can I prevent grout cracks from occurring?
A: While cracks are often inevitable, you can mitigate their occurrence by using high-quality grout sealant and cleaning your grout regularly.
Q: Is it necessary to replace the entire grout line if it’s cracked?
A: Not necessarily. In some cases, a simple repair using grout filler or epoxy may suffice. However, if the cracks are significant or widespread, replacing the entire grout line is recommended.
Q: Can I fix cracked grout myself?
A: Yes, fixing cracked grout is a DIY project. However, if the cracks are extensive or complex, seeking professional help is advisable.
How To Fix Cracked Grout On Tile Floor
Conclusion
Fixing cracked grout is a DIY project that can significantly enhance the aesthetic appeal and longevity of your tile floor. By following the steps outlined in this guide, you’ll be equipped to tackle those pesky grout cracks with confidence. Remember to prioritize using quality tools and materials, and invest in grout sealer for long-lasting protection. Are you ready to embark on this DIY adventure and transform your tile floor?
Are you interested in learning more about tackling other home improvement projects? Let us know in the comments below!


