Have you ever walked into a gym and been amazed by the soft, bouncy feel of the flooring? That’s likely rubber gym flooring, and it’s a popular choice for a variety of reasons. Not only does it provide excellent cushioning and shock absorption, but it also reduces noise, protects equipment, and helps prevent injuries. If you’re thinking about installing rubber gym flooring in your own home gym or fitness space, you’ve come to the right place. This comprehensive guide will walk you through the entire process, from choosing the right flooring to securing it to your concrete subfloor.

Image: aperformance.co.uk
Installing rubber gym flooring on concrete is a challenging but rewarding project. It’s a great way to transform your basement, garage, or any other concrete space into a functional and safe workout area. Whether you’re a seasoned DIYer or a first-timer, this guide will provide you with the knowledge and confidence to tackle this project successfully.
Choosing the Right Rubber Gym Flooring
The first step in installing rubber gym flooring is selecting the best option for your needs. Rubber tiles come in various thicknesses, densities, and colors, offering a range of benefits:
Thickness
- Thin Tiles (¼” – ½”): Ideal for light-duty applications like home gyms or areas with minimal impact. They are easier to install and more affordable.
- Medium Tiles (½” – ¾”): Offer a good balance of cushioning and durability, suitable for moderate-impact activities like weightlifting and cardio.
- Thick Tiles (1″ – 1 ½”): Provide the highest level of impact absorption and sound dampening, perfect for high-impact activities like CrossFit or heavy weight training.
Density
Density refers to the weight of the rubber per cubic foot. Higher density tiles are more durable and resistant to tearing and wear. This is particularly important for high-traffic areas or gyms that experience a lot of foot traffic.

Image: inspireddesigntalk.com
Color and Style
Rubber tiles are available in a wide array of colors and styles. Consider your aesthetic preferences and the existing decor of your space. Some popular patterns include interlocking tiles, puzzle-like shapes, and even patterned designs.
Preparing the Concrete Subfloor
Before you start installing the flooring, it’s crucial to properly prepare the concrete subfloor. This will ensure a smooth and level surface for the tiles:
Clean the Concrete
Thoroughly sweep and remove any dirt, debris, dust, or loose particles from the concrete surface. You can use a shop vacuum or a stiff-bristled broom to achieve a clean subfloor.
Level the Concrete
Even the slightest imperfections in the concrete can lead to uneven tiles and potential tripping hazards. Use a self-leveling compound to smooth out any dips or bumps. Follow the manufacturer’s instructions carefully for proper application.
Layout and Measurement
With a clean and level subfloor, the next step is to create a layout and measure the area for the rubber flooring. This process ensures a proper fit and minimizes waste:
Plan the Layout
Visualize the desired pattern or arrangement of the rubber tiles. Consider the dimensions of your space and potential obstacles like columns or vents.
Measure the Area
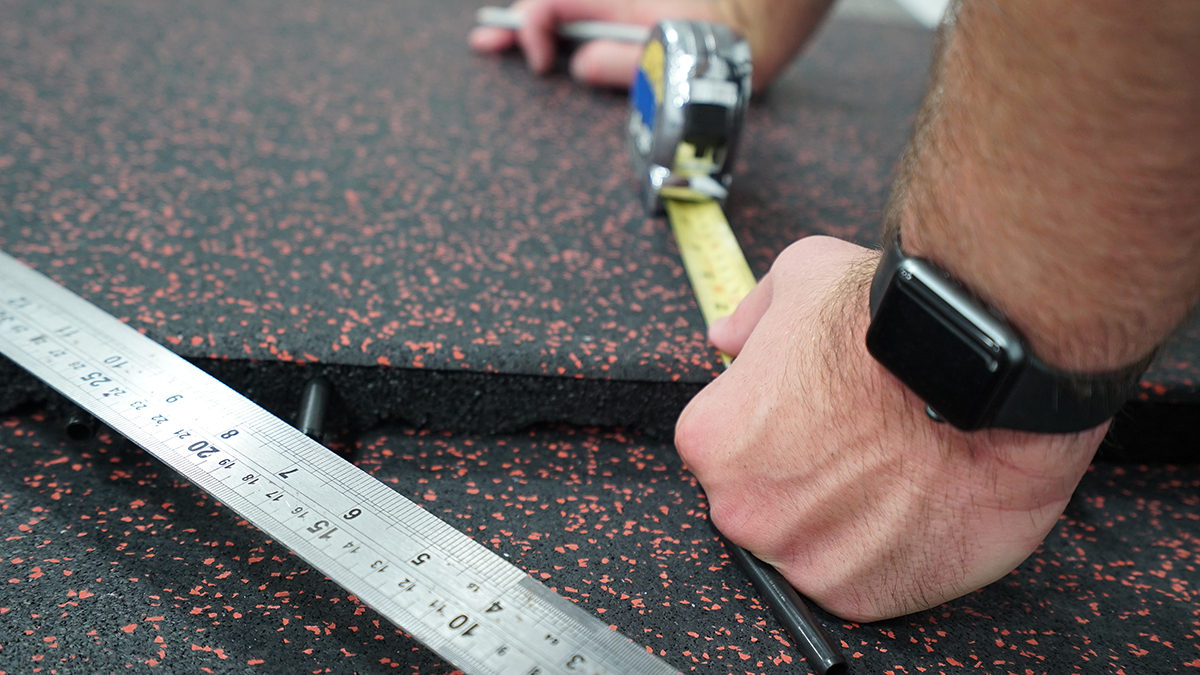
Use a tape measure to determine the exact dimensions of the area where you’ll be installing the flooring. Account for any irregular shapes or corners. This precise measurement helps you calculate the required number of tiles.
Installation Process
Now comes the exciting part – actually installing the rubber gym flooring. This process usually involves the following steps:
Install a Moisture Barrier
If your concrete subfloor is susceptible to moisture, installing a moisture barrier is essential. A polyethylene sheet can effectively prevent moisture from damaging the rubber flooring. Overlap the sheets by at least 6 inches and secure with tape.
Lay the Rubber Tiles
Start in a corner of the space, laying down the tiles according to your planned layout. Use a utility knife to trim any tiles that need to be adjusted to fit. You can use a rubber mallet to gently tap the tiles into place.
Secure the Tiles
For a more permanent installation, use construction adhesive specifically designed for rubber flooring. Apply a thin layer of adhesive to the underside of the tiles and press them firmly into position.
Trim Edges
Once you’ve installed the tiles, you may need to trim the edges to fit perfectly around walls and other obstacles. Use a utility knife or a jigsaw for precise cuts.
Maintenance and Care
Finally, proper maintenance and care are essential for extending the lifespan of your rubber gym flooring. Here are some easy tips:
Regular Cleaning
Sweep or vacuum the flooring regularly to remove dust, dirt, and debris. Use a damp mop with a mild cleaner for deeper cleaning. Avoid harsh chemicals or abrasive cleaners that could damage the rubber.
Repair Minor Damage
For minor tears or cuts, use a rubber repair kit. Apply a thin layer of adhesive to the affected area and press a patch of rubber over it. Let the adhesive dry completely before using the flooring.
Protect from Sunlight
Direct sunlight can cause rubber to yellow and fade over time. If possible, position your gym flooring out of direct sunlight. You can also use UV-resistant rubber tiles for added protection.
How To Install Rubber Gym Flooring On Concrete
Conclusion
Installing rubber gym flooring on concrete is a project that can greatly enhance your workout space. By following these steps, you can create a safe, durable, and functional environment for your fitness goals. Don’t forget to regularly clean and maintain your flooring to ensure it stays in top condition. With a little effort and care, you can enjoy the benefits of rubber gym flooring for years to come.


