Have you ever shivered your way through a cold morning, feeling the chill radiate up from your floorboards? The culprit might be a lack of insulation beneath your floor. While we often think about insulating our walls and attics, floors can be a surprisingly significant source of heat loss, particularly in colder climates. But don’t fret, insulating your floor from below is a DIY project within reach, and one that can reap significant rewards in terms of comfort and energy savings.

Image: cinvex.us
This guide will demystify the process of floor insulation, providing you with the knowledge and steps to tackle this important improvement project. We’ll cover everything from understanding your floor structure to choosing the right materials, considering various installation techniques, and even exploring the advantages of this simple yet impactful upgrade.
The Basics of Floor Insulation
Imagine your home as a thermos: heat wants to escape, just like your hot coffee wants to cool down. Insulation acts like a layer of insulation within your home’s thermos, keeping the heated air inside and preventing it from escaping. When it comes to floor insulation, you’re essentially creating a barrier between the cold ground below and the warm air within your home. This barrier can be a simple layer of loose-fill insulation, a rigid foam board, or even a combination of materials. The goal is to prevent heat from being conducted away from your living space and into the ground during the winter months.
Why Insulate Your Floor?
You might be thinking, “My floor isn’t that cold, why should I bother?” Insulating your floor from below offers many benefits:
- Lower Heating Costs: A well-insulated floor can help you save a hefty chunk of your heating bill. Imagine the comfort of walking barefoot on warm floors even on the coldest days!
- Increased Comfort: Who doesn’t love stepping onto a toasty floor on a frigid winter morning? Insulating your floor feels like adding an extra layer of warmth to your entire home.
- Reduced Noise: Insulating your floor can also help reduce noise transmission from below. Imagine no more hearing your downstairs neighbors’ every footstep.
- Improved Energy Efficiency: By reducing heat loss through your floor, you’re contributing to a greener household and lessening your environmental impact.
Types of Floor Insulation
The insulation world presents a smorgasbord of options, making it crucial to choose the right type for your situation. Let’s break down some popular choices:

Image: viewfloor.co
1. Fiberglass Batts
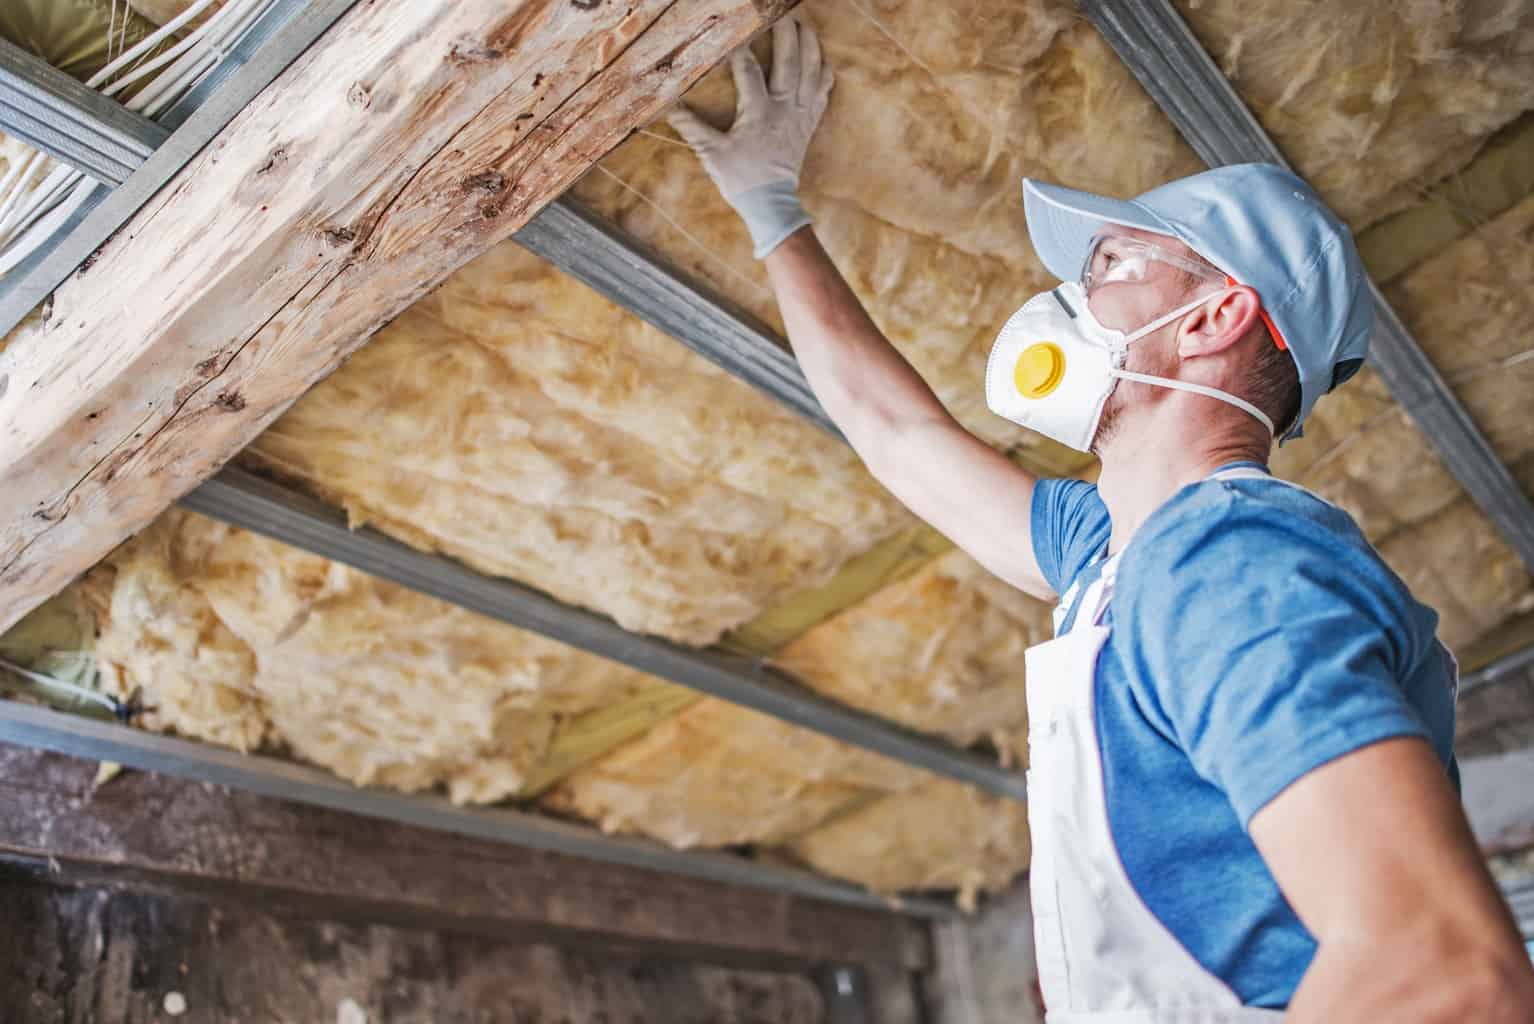
Fiberglass batts are a common choice for floor insulation, readily available and relatively affordable. These come in various thicknesses and widths, fitting snugly between joists. They’re known for their good thermal performance and sound absorption, making them a solid choice for many applications.
2. Rigid Foam Insulation
Rigid foam insulation, often made from extruded polystyrene (XPS) or expanded polystyrene (EPS), provides a robust barrier for your floor. Available in various thicknesses, rigid foam is an excellent choice for areas where you want a robust, moisture-resistant insulation layer. It’s often used for crawl spaces, since it can withstand moisture and potential pests.
3. Loose-Fill Insulation
Loose-fill insulation, typically cellulose or blown-in fiberglass, is ideal for irregular spaces, like attics or crawl spaces. It’s blown into place, filling the gaps and providing an even, consistent layer of insulation. This option is good for sealing gaps around pipes or wires, making it an excellent choice for crawl spaces.
4. Reflective Insulation
Reflective insulation, such as foil-faced bubble wrap or radiant barrier, reflects heat back into your home instead of letting it escape. This type is best used in conjunction with other types of insulation for maximum effectiveness. It’s particularly helpful in areas where heat loss is a major concern.
How to Insulate Your Floor From Below: A Step-by-Step Guide
Now let’s get down to the nitty-gritty: how to actually insulate your floor from below, and the critical considerations for each type of flooring.
1. Preparing the Work Area
Before diving into the installation process, proper preparation is key. This is where safety and efficiency come into play. Here’s how to start:
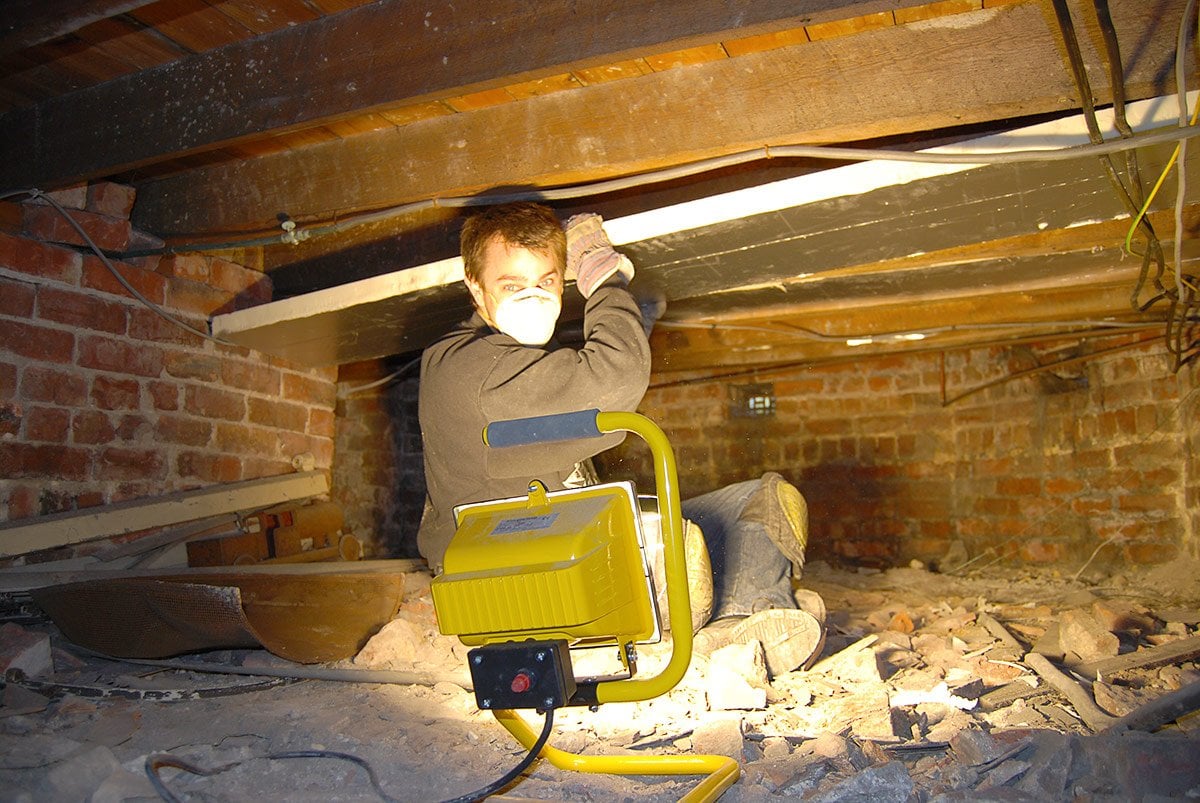
- Crawl Space or Basement: Ensure proper ventilation in your crawl space or basement. This involves clearing any debris, inspecting the foundation, and repairing any cracks or holes to prevent moisture and pest issues.
- Safety Gear: Wear appropriate safety gear, including gloves and a respirator, especially when working with fiberglass insulation.
- Secure a Permit: For any major changes to your home’s structure, it’s wise to check with your local building department about necessary permits and codes.
2. Understanding Your Floor Structure
Take a moment to assess your floor’s construction:
- Flooring Type: Is your floor built over a basement, a crawl space, or a concrete slab? Different floor structures require different approaches to insulation.
- Joist Spacing: Measure the spacing between joists, as this will help determine the width of insulation needed.
- Floor Framing: Are there any obstructions, such as pipes or vents, that need to be accommodated?
3. Choosing the Right Insulation
Now that you understand your floor’s structure, you can select the most suitable insulation type:
- Crawl Spaces: Rigid foam insulation or loose-fill cellulose are excellent choices for crawl spaces, as they handle moisture and potential pest issues well.
- Basements: Fiberglass batts, rigid foam boards, or loose-fill cellulose are good options for basements, depending on the layout and accessibility of the area.
- Concrete Slab: If you have a concrete slab foundation, insulation can be installed directly on top of the slab or beneath it (if there is access from below).
4. Installing the Insulation
This part can be a bit hands-on, but don’t worry; it’s not rocket science. Here’s a step-by-step guide:
- Fiberglass Batts: For standard fiberglass batt insulation, carefully cut the batts to fit the spaces between joists and secure them in place with staples or wire ties.
- Rigid Foam Boards: Use a utility knife to cut rigid foam boards to fit the spaces between joists. Secure them with adhesive or mechanical fasteners for a strong bond.
- Loose-Fill Insulation: For blown-in cellulose or fiberglass insulation, use a specialized hose attachment to blow the insulation into the space between your floor joists. Be sure to wear a respirator for this step.
5. Sealing Air Gaps
It’s important to seal any gaps or cracks where air can leak through. Use foam sealant or caulk to create a tight seal around any pipes or wires that pass through the insulation.
6. Vapor Barrier
In damp climates or crawl spaces, consider installing a vapor barrier on the ground or on the underside of the floorboards. This helps prevent moisture from migrating through the wood and causing damage or mold growth.
Additional Tips and Considerations
Here are some bonus tips to enhance your floor insulation project and ensure success:
- Consider Attic Insulation: If your attic is not insulated, it’s a good idea to insulate it as well. This can significantly enhance the overall energy efficiency of your home.
- Professional Assistance: For complex floor structures or if you’re not comfortable DIYing, consider hiring a professional contractor for the installation.
- Cost-Effectiveness: While the initial investment in floor insulation may seem high, the long-term savings on your heating bill can make it a wise financial decision.
How To Insulate A Floor From Below
Conclusion
Insulating your floor from below is a practical, cost-effective way to improve the comfort and energy efficiency of your home. By understanding the process, choosing the right materials, and following the steps outlined above, you can turn a chilly floor into a warm and inviting haven. Remember, the key is to create a tight seal, prevent heat from escaping, and ultimately reduce your energy bills while enjoying the cozy warmth. Now go forth and insulate!


